Restoring a classic American muscle car is a dream shared by enthusiasts across generations. It is a project rooted in passion, craftsmanship, and patience. But a successful restoration requires more than enthusiasm, it demands planning, organization, and the right approach. Whether you are reviving a 1969 Camaro, a 1970 Challenger, or a 1966 Mustang Fastback, breaking the restoration down into smaller, manageable stages makes the process smoother and more rewarding. Here is how to do it right.
1. Planning: Define Your Vision
Before turning a single bolt, decide what kind of restoration you are aiming for. Will it be a full nut and bolt restoration to factory specifications, a tasteful restomod, or a period correct daily driver? Define your budget, skill level, workspace needs, and timeline. Factor in any tools or external services you will need. Knowing where you are going helps guide every decision that follows and avoids decision paralysis down the line.
2. Initial Parts List: Know What You Will Need
Take inventory early. Walk around the car and make a list of everything you know you will need to replace or refurbish, from trim pieces and weather seals to wiring and drivetrain components. Do not worry if it is not complete yet, this list will evolve as you dig deeper.
3. Strip Down: Disassembly with Care
Begin with full disassembly. Label every bolt, bracket, and part. Take photos at every stage for future reference. Use zip lock bags and boxes labeled by system — brakes, suspension, interior, and so on. This not only keeps you organized but will save countless hours during reassembly.
4. Cataloguing and Documentation
Create a digital or physical system to track parts, hardware, and tasks. Spreadsheets or restoration apps work great. Include notes on condition, replacement sources, and part numbers. Catalog everything in a way that makes sense to you, you will thank yourself later when the boxes pile up.
5. Parts List Update and Acquisition
Now that everything is apart and catalogued, update your parts list. Separate items into categories such as restore, replace, or upgrade. Research reputable suppliers for original parts or trusted aftermarket options. Join forums and owner groups for sourcing tips and secondhand deals. Often, patience and networking can save you hundreds or even thousands.
6. Mechanical Work: From Ground Up
Start with the frame and suspension. Check for rust, fatigue, and alignment. Rebuild or upgrade brakes, bushings, shocks, and steering components. Then move on to the drivetrain — engine, transmission, driveshaft, and differential. Fresh gaskets, new fluids, and proper torque specifications are crucial to long term performance.
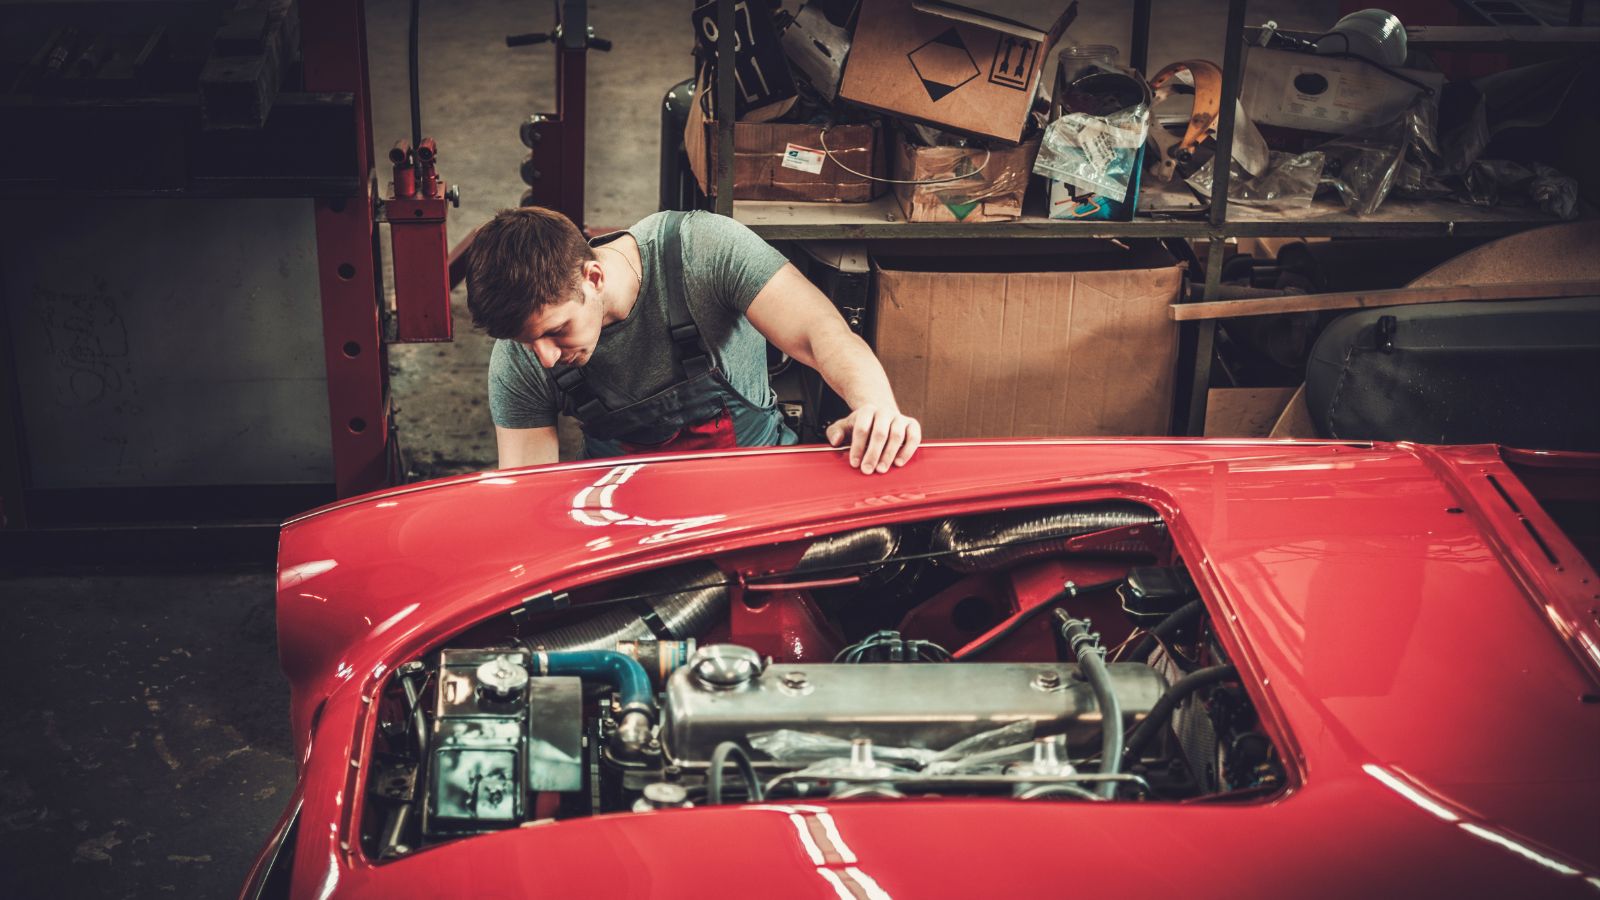
7. Body and Paint: Prep is Everything
Bodywork is time consuming but vital. Remove all old paint, repair dents and rust, and ensure panels are straight and gaps even. Primer, sanding, masking, and then paint — possibly the most exciting step visually. Choose a quality painter or do it yourself if skilled. Take your time here, as rushed bodywork will show in the final product and be difficult to undo.
8. Rebuild Phase: Bringing It All Together
Reassembly should be methodical. Reinstall the chassis and suspension first, followed by the drivetrain. Check clearances and align everything carefully. Electrical systems should be addressed at this stage too — reroute wiring, test lights, install gauges, and ensure grounding is solid. This phase starts to bring your vision into focus.
9. Mechanical Rebuild: Fine Tuning and Fluids
Once the engine and transmission are back in place, it is time for fine tuning. Set timing, adjust valves, check vacuum lines, and calibrate carburetors or fuel injection systems. Do not forget fluid checks — brake fluid, transmission fluid, coolant, and oil. Leak testing and pressure checks are essential before the first fire up.
10. Interior Restoration: Function and Finish
Install insulation, carpets, headliners, and door panels. Restore or replace seats, dashboard trim, knobs, and switches. Make sure all gauges and electronics function properly. This is where the car truly becomes whole again — do not rush the details, they make the difference between average and outstanding.
11. Final Troubleshooting and Road Testing
Before hitting the road, do a full system check. Test brakes, throttle response, cooling system behavior, and all electrical systems. Expect some issues — loose fittings, misaligned panels, or strange noises. Take time to resolve them properly before calling the job done. A few days spent in shake down mode can save months of frustration later.
12. Staying Motivated Through the Process
Restoration is rewarding, but it is also long, and sometimes grueling. Motivation will dip, especially when parts are delayed, problems pile up, or life gets in the way. The key is to keep your passion alive. Subscribe to classic car magazines, read books about your model, and watch restoration documentaries. Attend local car shows and talk to owners who have completed similar projects. These small boosts can recharge your energy when morale drops.
Break the project into stages and set milestones with target dates — not just to finish, but to complete the chassis, get the engine running, or finish paint. Celebrate small victories and stay flexible. Share your progress with friends or online communities for encouragement. Above all, remember why you started. This is not just about rebuilding a machine, it is about making memories and honoring a legacy.
13. Learning to Compromise
Many restorations stall because owners refuse to compromise. They insist on finding a rare trim piece or the exact date coded alternator, often delaying progress for months or years. Purity is admirable, but perfection can be the enemy of progress. Sometimes an aftermarket part, a temporary fix, or accepting patina in non critical areas can keep the project alive.
Your budget and timeline matter. Every dollar spent chasing one exact detail could be used for finishing another key system. Decide early which aspects must be original and which can be modernized or simplified. This will help you maintain momentum without sacrificing the soul of the car.
Drive Your Dream
Restoring a vintage muscle car is no small task, but it is one of the most rewarding experiences an automotive enthusiast can undertake. By breaking it into manageable phases, staying organized, keeping motivation high, and being realistic about compromises, you will turn a rusty relic into a rolling tribute to American horsepower and history. And when you finally hear that engine fire up, every hour, dollar, and scraped knuckle will have been worth it.